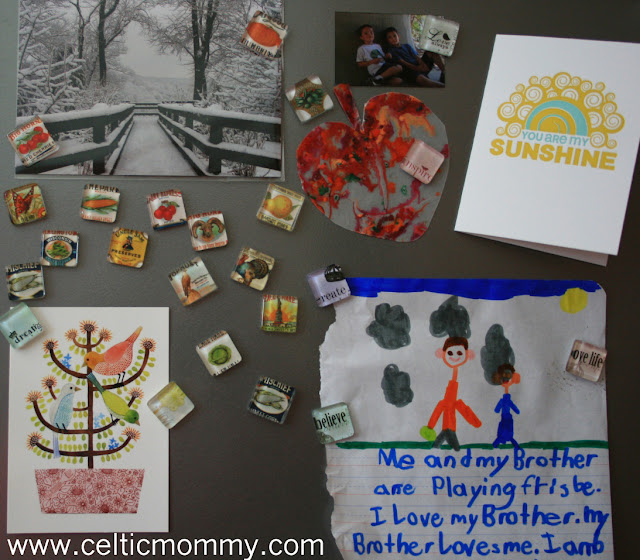
Crafty fun and free tutorial.
How to make Glass Tile Magnets!
This craft is a great afternoon project to do with children or friends. You will need a bit of space and the tiles will need to stay put while drying, so I suggest setting up somewhere that can be left alone for awhile... otherwise your dining room table will not be used for dinner! :-)
Supplies needed:
This supply list is based on 1 inch glass tiles, however you are only limited by your imagination! These glass tiles come in various sizes and shapes like squares, ovals, circles, scrabble tiles, rectangles, etc.
Links to all supplies used are at the end of this tutorial.- 1 inch artwork, printed on cardstock. I chose to have all my images printed at Kinko's for the better quality than I could print at home. New photographs could also be used.
- Square paper punch or a steady hand, X-acto knife and self-healing mat
- Weldbond glue
- E6000 glue
- Glass tiles
- Magnets
- Paper towels
- Q-tips
- Plastic wrap or parchment paper (to keep your work surface from getting dirty)
Directions:
Make sure your glass tiles are clean and free of nicks. Some glass tiles have two smooth sides, some have one side that is a bit rough. Make sure to use the rough side facing down if you have this kind.
Choose your artwork for a set of tile magnets... you can easily make a set of 10 magnets at a time if you choose to. You can find tons of pre-made artwork on Etsy, you can make your own, you can use photographs or kid artwork, etc. etc.
Cut each tile with the square paper punch or X-acto knife and place on parchment paper or plastic wrap, about 3 inches apart from each other.
Place a nickle-sized amount of the Weldbond glue on the front of the image.
Holding the side of the tile, smoosh the glass tile onto the image, the glue will seep out the sides and that's fine-- we'll be cleaning that up later. Be sure to look for air bubbles and gently press them out otherwise you will see them when the tiles are dry as you see in this next photo.
Repeat process until all glass tiles have been put onto images.
Go have a snack! It's best to wait about 4 hours for the next step. You can leave the tiles for up to about 12 hours if necessary.
Lightly peel the tiles off of your plastic or parchment. The glue that has oozed out of the sides will be slightly set and starting to clear... this is the perfect time to cut the excess off and clean up the edges.
Repeat on all sides and all tiles until you are happy. The tiles may still appear a bit cloudy and can take up to 24 hours to clear completely.
Apply a teeny bit of E6000 glue to the center of each tile, taking care not to get any glue on you. Set the magnet in the center and use Q-tips if needed to lightly press the magnet into place. Let dry for 4 hours.
Find your most precious photos and use the magnets!
For the glass tiles, the teeny, ultra powerful magnets and E6000 glue: Candy Tiles on Etsy
For the Weldbond glue, X-acto knife and the square paper punch: DickBlick Art SuppliesFor the collage sheets, I purchased from:
Tragic Pixels
Aenota
Designs by Linda Nee
Magpie Mine (The Fruit/Vegetable Labels are from here!)
And last, but certainly not least, the "You are my Sunshine" card that I am utterly in love with in that last photo... the very talented Brandi from SweetHarvey made that! I had a few people email me about it, so I thought I should add her in as well. She's also a foodie and has a cute blog to boot!
I have more crafts to showcase using glass tiles, but this should get everyone started.
:-) Happy Crafting!


